NVPS has had a long history of including monochrome (mono) print images in its monthly competitions. During the Covid era, a digital mono category was also added to allow mono images to compete in virtual competitions. This article illustrates an easy way to produce “toned” mono images in either Lightroom or Photoshop that will satisfy the Rules of Competition for either prints or digital images. Some examples are also provided below.
The Rules of Competition define “monochrome” as images in which only one color in varying shades is used; white is considered the absence of color rather than a color. Examples include:
- black and white (grayscale)
- brown and white (sepia)
- any color and white
It’s important to note that any color can be used to tone an image however, only shades of a single color can be used for the mono competition category. If multiple colors are visually detected in your image, it will be disqualified by the VP’s of Competition. Split-Toned or Duo-Toned images are also not considered mono and should be avoided. Also note that an image with 2 or more colors can be submitted to the color category. However, mono (B&W or toned) images submitted to the color categories will also be disqualified.
Be aware that some of Lightroom’s B&W presets do contain subtle shades of different colors and should therefore not be used. If you are not sure if your mono image qualifies for competition, email a digital image to the VP’s of Competition well in advance of the competition and at least 2 days before the competition upload window closes. However, the technique described below ensures that only a single color will be present to tone your mono image.
Creating Monochrome Images in Lightroom or Photoshop
STEP 1 – Convert your image to Black and White
Open Lightroom and select the “Develop” Module. Then click on “Basic” at the top of the right side. Click on “Black & White”. This is a desirable way to convert a color image to B&W since it will creates a B&W panel – 8 color filter sliders that control how the color image is converted to B&W.
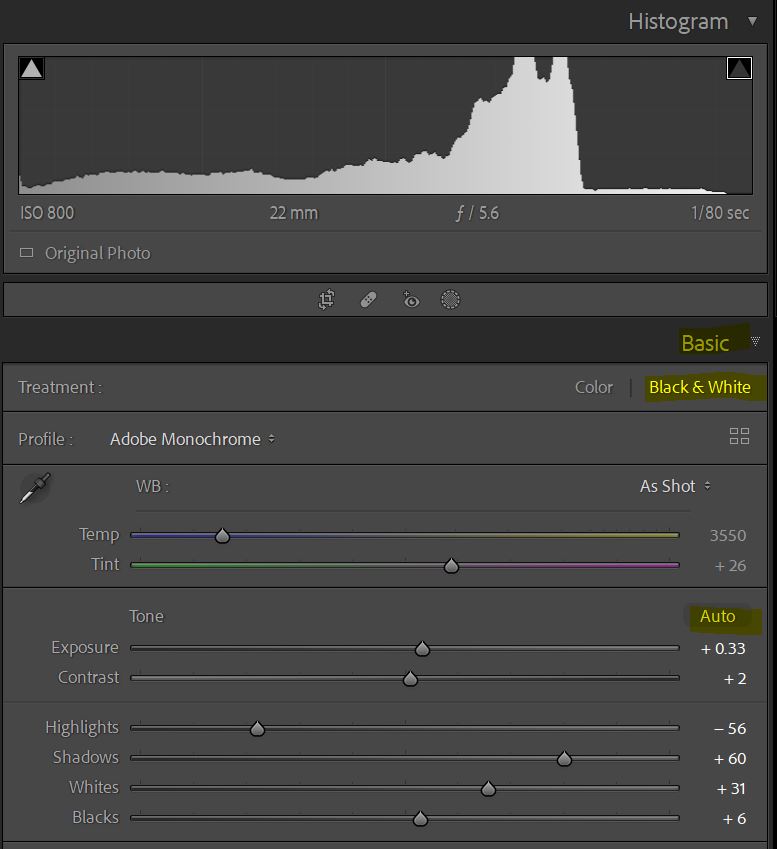
STEP 2 – Optimize your image for Black & White
Use the Basic and B&W panel sliders to improve contrast and shadows. The B&W sliders allow you to brighten or darken specific colors that appeared in the original color image. You can select “Auto” on either or both panels as starting points for editing. In general, it is desirable to spread out the histogram as much as possible, without clipping either the shadows or highlights.

STEP 3 – Use Color-Grading to replace black/grayscale with a single-color/colorscale
(Skip this step if you don’t want to tone your B&W image.) Click on the “Color Grading” panel on the right and notice the 5 circular icons along the top after the word “Adjust”. You can make color changes to shadows, mid-tones, highlights, or globally to the entire range. Click on the far right circle. This will bring up the “Global” color grading settings. Global is the only one you’ll need to use to achieve single-color toning.
Left-click and move your mouse anywhere inside the colored circle. You can simultaneously change the hue and saturation. Notice how the color tone of your image changes as you move the mouse. You can also adjust the Hue and Saturation values separately with the sliders. Try using Saturation values 10-20, and Hue values 0-60 to produce subtle sepia-toned images, or pick a combination that works for you. Use the saturation slider sparingly to produce beautiful single-toned images. Make sure the other 3 sliders are set to zero to prevent multiple colors from showing up in your image.

COLOR GRADING HOT-KEYS
Double clicking on “Adjust” will reset all sliders to zero. Holding down the “Shift” key will restrict motion to only the saturation. Holding down the Ctrl or Command key will restrict motion to only the hue. Clicking on the eyeball on the right-side of the color-grading panel will momentarily zero-out all color grading controls for a quick before-after look.
FOR PHOTOSHOP USERS
Since Adobe Camera Raw (ACR) has almost the same color-grading controls as Lightroom, this technique can be applied to images using Photoshop’s ACR filter instead of Lightroom.
Another way to create a single-color mono image in Photoshop is to add a Black and White Adjustment layer on top of your image, check the “Tint” box, click on the swatch next to “Tint” and select your tint color with the color picker.
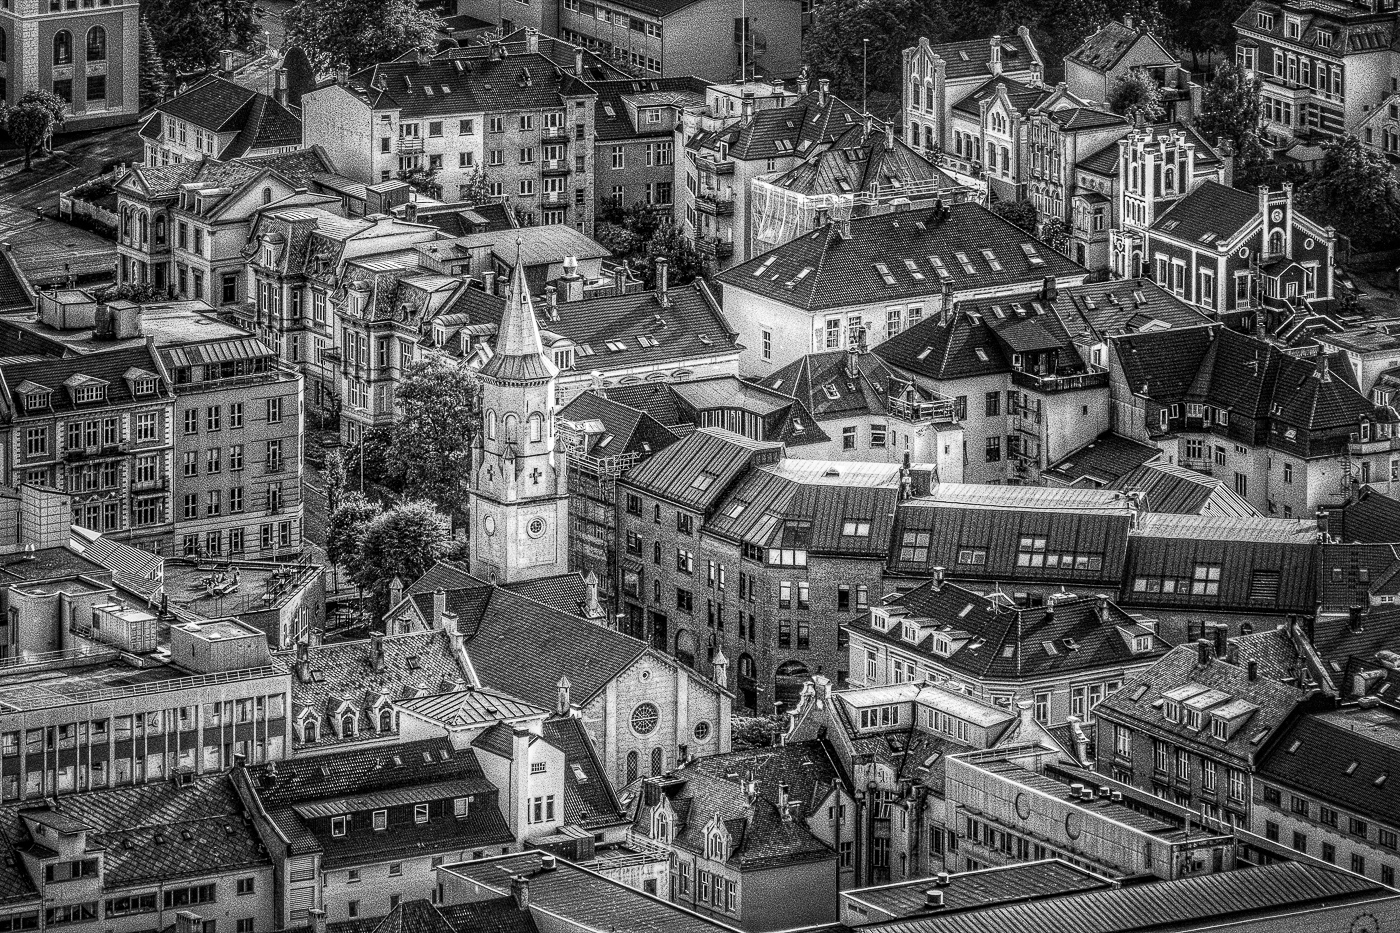
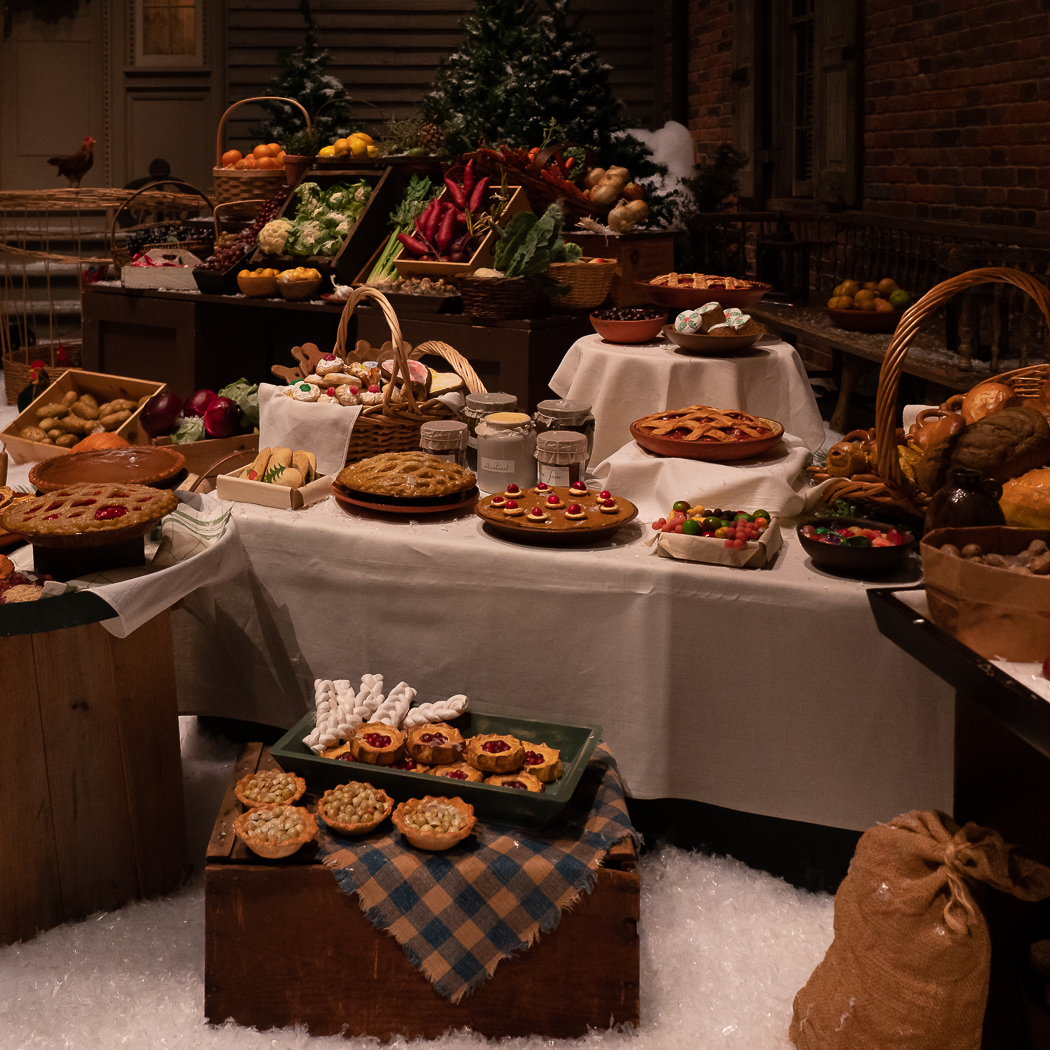
EXAMPLES OF TONED IMAGES
The examples below show 1) the original color image, 2) the color image converted to B&W, and 3) the B&W image after applying a sepia tone using Lightroom’s color-grading feature.